

Product Description:
Specifications:
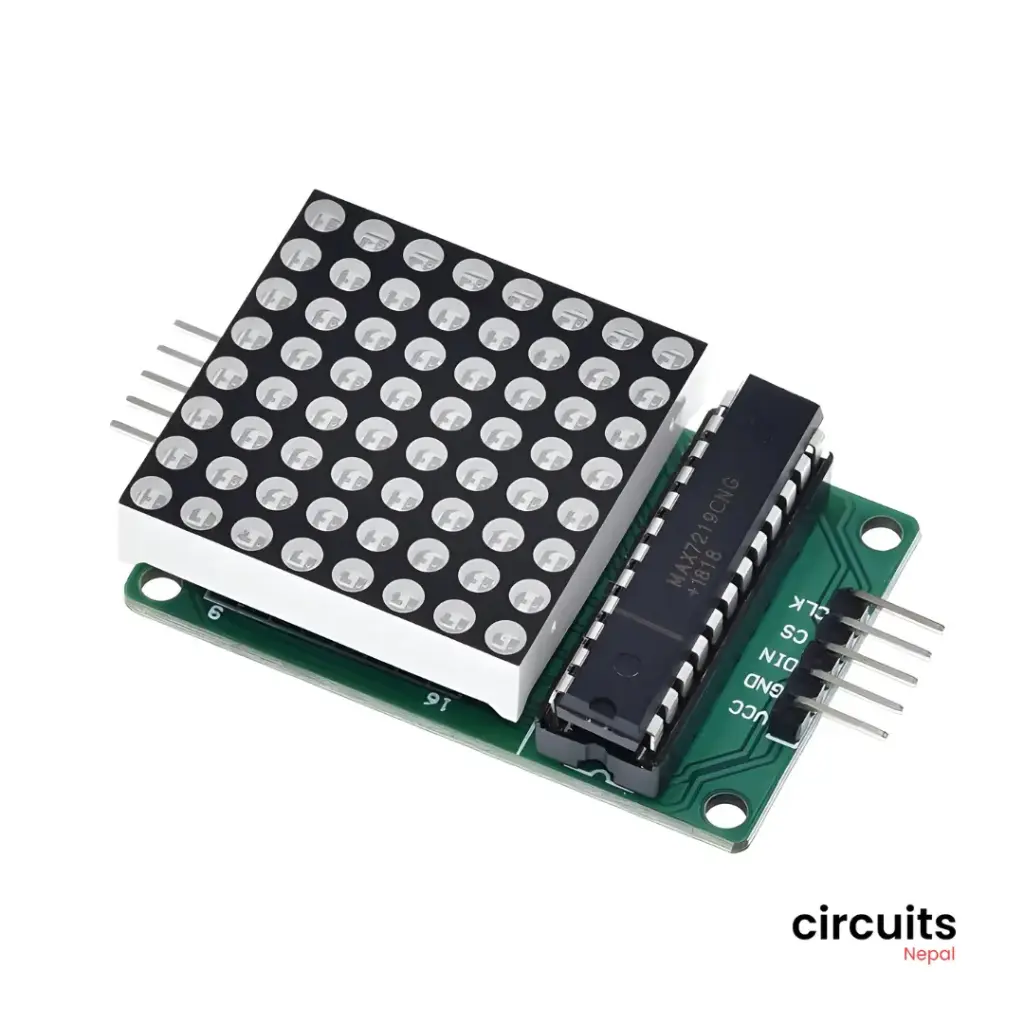
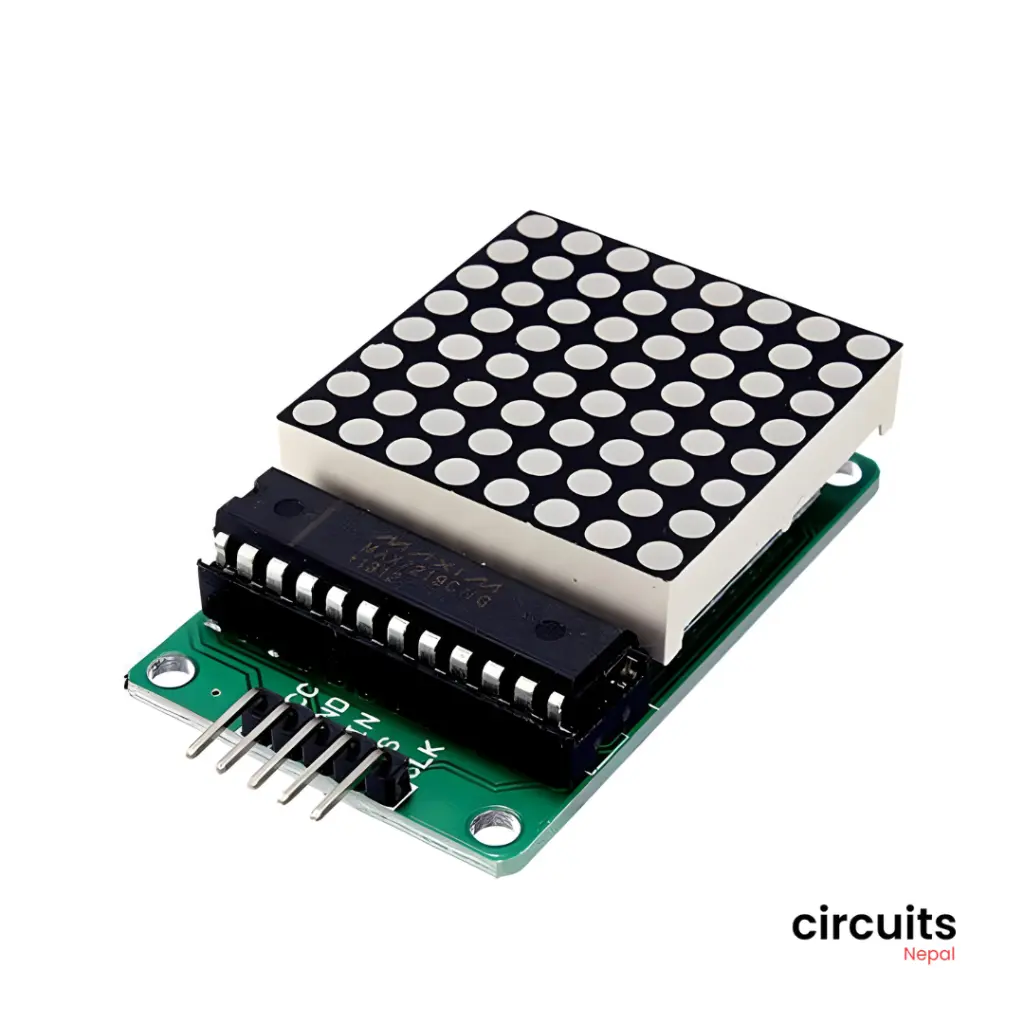
- Driver IC: MAX7219
- Display Size: 8x8 LEDs (64 LEDs total)
- Interface: SPI
- Power Supply: 5V DC
- Dimensions: Approximately 50mm x 40mm
Features:
- High Brightness: Clear and visible display, even in bright environments.
- SPI Interface: Easy to control with microcontrollers like Arduino.
- Multiplexing: Efficiently drives all 64 LEDs with fewer control lines.
- Wide Range of Applications: Ideal for signs, scoreboards, data visualization, and more.
Using the MAX7219 Module with Arduino:
Required Components:
- Arduino board (e.g., Uno, Nano)
- MAX7219 Dot Matrix Display Module
- Jumper wires
Wiring:
- Power: Connect the VCC pin of the module to the 5V pin of the Arduino.
- Ground: Connect the GND pin of the module to the GND pin of the Arduino.
- Data In (DIN): Connect the DIN pin of the module to a digital pin on the Arduino (e.g., 11).
- Clock (CLK): Connect the CLK pin of the module to a digital pin on the Arduino (e.g., 12).
- Chip Select (CS): Connect the CS pin of the module to a digital pin on the Arduino (e.g., 10).
Arduino Code:
C++
#include <SPI.h>

const int csPin = 10;

void setup() {
  pinMode(csPin, OUTPUT);
  digitalWrite(csPin, HIGH);
  SPI.begin();
  SPI.beginTransaction(SPISettings(1000000, MSBFIRST, SPI_MODE0));
}

void loop() {
  // Example: Displaying a simple message
  displayText("Hello");
  delay(1000);

  // Example: Displaying a scrolling message
  scrollText("Welcome to Arduino!", 50);
}

// Function to send data to the MAX7219
void sendData(byte address, byte data) {
  digitalWrite(csPin, LOW);
  SPI.transfer(address);
  SPI.transfer(data);
  digitalWrite(csPin, HIGH);
}

// Function to display a text message
void displayText(const char *text) {
  int i = 0;
  while (text[i] != '\0') {
    sendData(i + 1, text[i]);
    i++;
  }
}

// Function to scroll a text message
void scrollText(const char *text, int delayTime) {
  int textLength = strlen(text);
  for (int i = 0; i < textLength; i++) {
    for (int j = 0; j < 8; j++) {
      sendData(j + 1, text[(i + j) % textLength]);
    }
    delay(delayTime);
  }
}
Explanation:
- SPI Communication: The MAX7219 uses SPI communication to control the display.
- Data Transfer: The sendData function sends data to the specific address on the display.
- Text Display: The displayText function displays a static text message.
- Text Scrolling: The scrollText function scrolls a text message across the display.
This code provides a basic framework for controlling the MAX7219 module. You can modify it to display various patterns, animations, and information.
Package Includes:
1x MAX7219 8x8 LED Dot Matrix Display Module