

Product Description:
| Specification | Value |
|---|---|
| Interface | SPI |
| Voltage | 3.3V or 5V |
| Current | < 100mA |
| SD Card Compatibility | SD, SDHC, Micro SD, Micro SDHC |
| Data Transfer Rate | Up to 25MB/s |
| Dimensions | 24mm x 24mm |
| Weight | 2g |
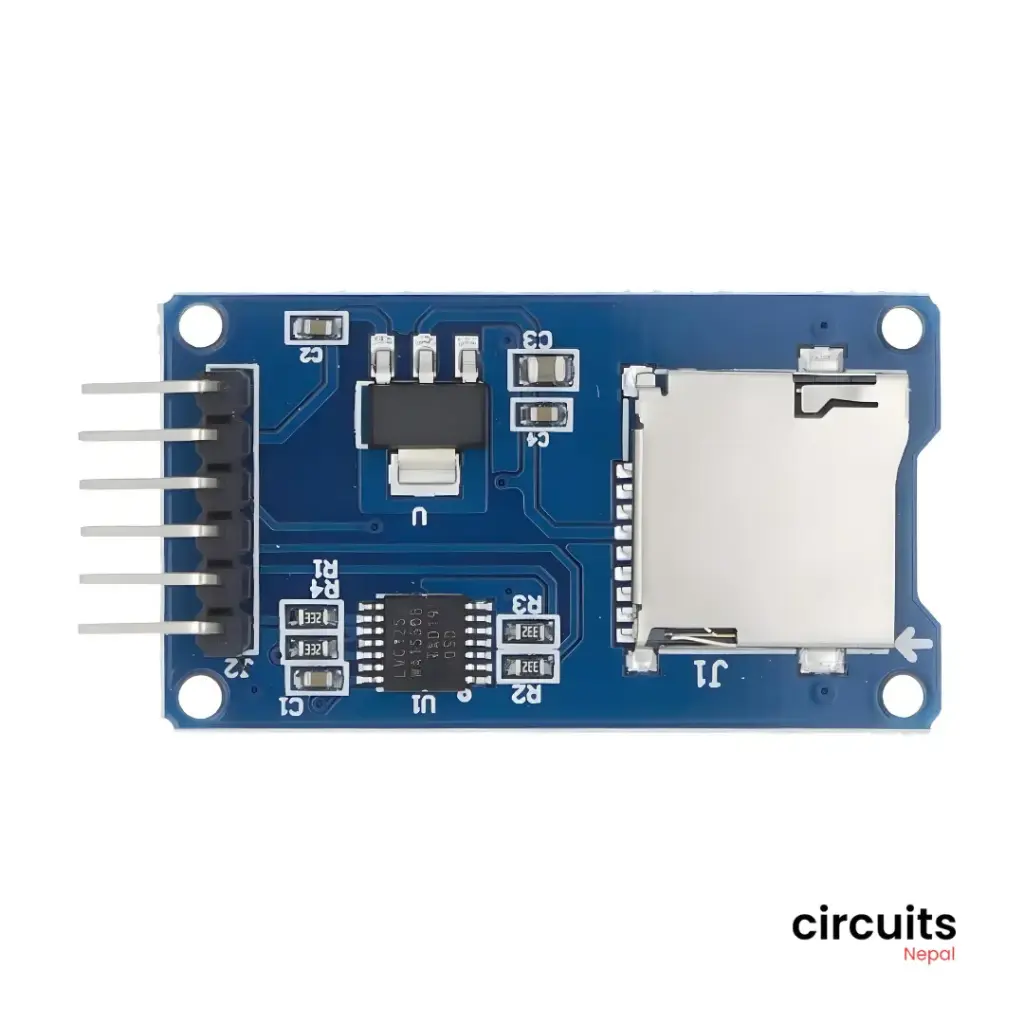
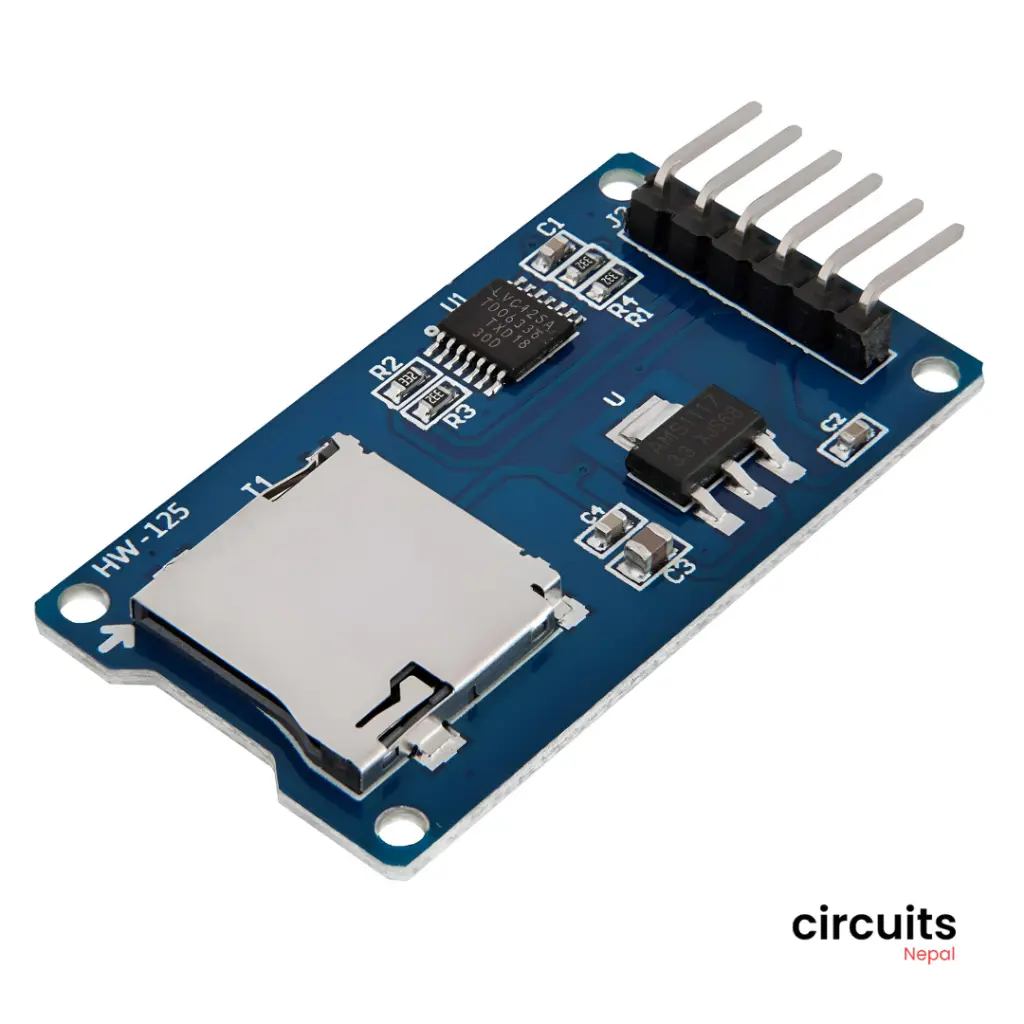
Micro SD Card Reader Pinout and Usage
| Pin | Function | Connection |
|---|---|---|
| MOSI | Master Out Slave In | Connect to the MOSI pin of your microcontroller (e.g., Arduino Digital Pin 11) |
| MISO | Master In Slave Out | Connect to the MISO pin of your microcontroller (e.g., Arduino Digital Pin 12) |
| SCK | Serial Clock | Connect to the SCK pin of your microcontroller (e.g., Arduino Digital Pin 13) |
| CS | Chip Select | Connect to a digital pin of your microcontroller (e.g., Arduino Digital Pin 10). This pin is used to select or deselect the SD card module. |
| VCC | Power Supply | Connect to +3.3V or +5V power source |
| GND | Ground | Connect to ground |
How to Use the Micro SD Card Reader Module
- Wiring: Connect the module to your microcontroller as per the pinout table.
- Initialization: Use the appropriate library for your microcontroller (e.g., SD library for Arduino) to initialize the SD card. This typically involves setting the CS pin low to select the module.
- Operations: Use the library functions to perform various operations on the SD card, such as:
- Reading data from the card
- Writing data to the card
- Formatting the card
- Checking the card's status
- Getting card information (e.g., size)
Example (Arduino with SD library):
C++
#include <SD.h>

const int chipSelect = 10; // CS pin connected to Arduino Digital Pin 10

void setup() {
  // Initialize serial communication
  Serial.begin(9600);

  // Initialize SD card
  if (!SD.begin(chipSelect)) {
    Serial.println("Initialization failed!");
    return;
  }
  Serial.println("Initialization done.");
}

void loop() {
  // ... your code to read/write data to the SD card ...
}
Package Includes:
1x 6 Pin SPI Interface SD Card Module