
Product Description:
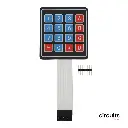
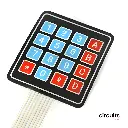
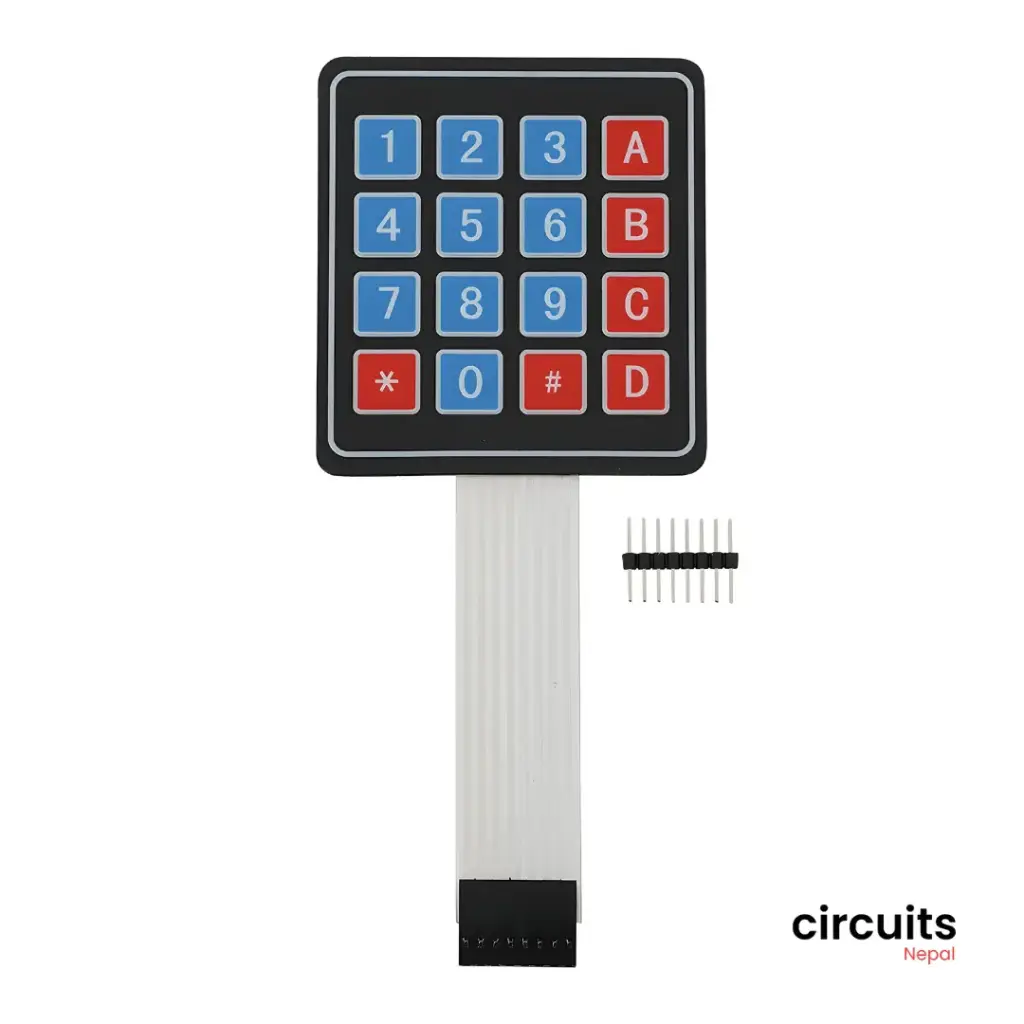
This 4x4 membrane keypad offers a simple and reliable input solution for your microcontroller projects. Its 16 tactile buttons, arranged in a 4x4 matrix, provide a user-friendly interface. The adhesive backing allows for easy mounting on various surfaces.
| Specification | Value |
|---|---|
| Keypad Layout | 4x4 Matrix |
| Key Quantity | 16 |
| Key Labels | 0-9, *, #, A-D |
| Output Type | Digital |
| Interface | 8-pin header |
| Dimensions | Approximately 50mm x 40mm |
| Interface | Digital (requires digital pins on your microcontroller) |
Using the 4x4 Keypad Module with Arduino
Required Components:
- Arduino board (e.g., Uno, Nano)
- 4x4 Keypad Module
- Jumper wires
Wiring:
- Power: Connect the VCC pin of the keypad to the 5V pin of the Arduino.
- Ground: Connect the GND pin of the keypad to the GND pin of the Arduino.
- Data Lines: Connect the 8 data lines (D0-D7) of the keypad to digital pins on the Arduino (e.g., 2-9).
Arduino Code:
C++
const int rowPins[4] = {2, 3, 4, 5};
const int colPins[4] = {6, 7, 8, 9};

void setup() {
  for (int i = 0; i < 4; i++) {
    pinMode(rowPins[i], INPUT_PULLUP);
    pinMode(colPins[i], OUTPUT);
  }
  Serial.begin(9600);
}

void loop() {
  for (int row = 0; row < 4; row++) {
    for (int col = 0; col < 4; col++) {
      digitalWrite(colPins[col], LOW);
      if (digitalRead(rowPins[row]) == LOW) {
        Serial.print("Key pressed: ");
        Serial.println(row * 4 + col);
        delay(200); // Debounce delay
      }
      digitalWrite(colPins[col], HIGH);
    }
  }
}
Explanation:
- Row and Column Pins: The keypad is connected in a matrix format, where each row and column is connected to a digital pin on the Arduino.
- Scanning: The code scans each row and column sequentially to detect key presses.
- Debouncing: The delay(200) is added to debounce the keypresses, preventing multiple readings for a single press.
- Key Identification: The pressed key is identified based on the row and column combination.
This code provides a basic framework for reading keypresses from the 4x4 keypad. You can modify it to perform specific actions based on the pressed key, such as controlling LEDs, motors, or other devices.
Package Includes:
1x 4x4 matrix Membrane Keypad